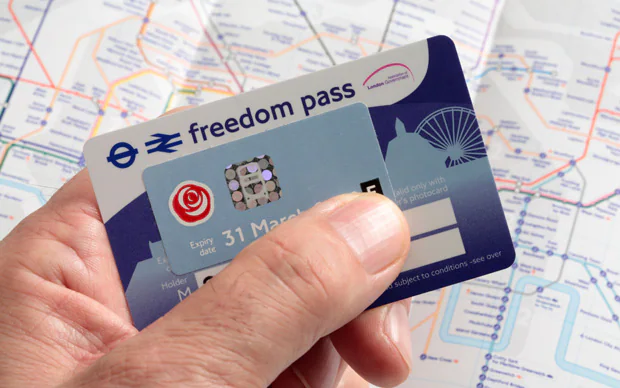
Checking your eligibility and applying are both free through the official channel. The steps below cover what to have ready and what to expect once the form is in.
Step 1 — Have your details ready
Before you start, gather proof of address, proof of identity, evidence of your age or eligibility, and a recent photo. Requirements vary between boroughs, so it is worth checking your local council guidance first. Having everything to hand turns a stop-start process into a single sitting.
Step 2 — Check your eligibility on the official site
The official Freedom Pass platform applies your borough rules and tells you where you stand. Be wary of third-party sites that charge a processing fee for this — the official check costs nothing.
Step 3 — Apply online
Once eligibility is confirmed, the application continues on the same site. You upload your documents and photo as part of the form, which is exactly why step one matters.
Step 4 — What you can use it for
- London buses
- The Underground
- National Rail services within London
- Trams and the DLR
- Some river services
Step 5 — After you apply
The eligibility result comes back immediately on screen. The application itself is reviewed over a few working days, and once approved the physical pass is posted to you. Your free travel starts the moment it arrives.
You will be redirected to the official website.